Dreaming about your Japan trip but not quite sure where to start? You’re definitely not alone. With endless info online (not to mention a culture that can feel completely different from what you’re used to), Japan trip planning gets overwhelming fast.
But that’s exactly why we made this guide. As a boutique Japan travel agency, we’ve helped hundreds of travellers plan smooth, unforgettable trips to Japan, from first-timers to returning superfans. And now, we’re here to help you do the same.
This step-by-step Japan trip planning guide will walk you through the whole process, from when to go and what to budget, to how to get around, what to book in advance, and what to skip entirely. Keep reading to get all the Japan know before you go knowledge you need to plan your dream trip in no time with no stress and no guesswork.
Need Help with Japan Trip Planning?
Spending more time on Japan trip planning than you’d like? Why not leave it to the experts? We’ve helped thousands of visitors to plan and live out their dream Japan trip, taking on even the tiniest details so that you can focus on the fun. Check out our travel planning services and $1/day itineraries to get started.
Our Step-By-Step Guide to Japan Trip Planning
Step 1: Deciding When to Go to Japan

One of the first things to figure out? When you’re going. Your dates might be locked in around holidays or school breaks (which is totally fair) but luckily, Japan’s got something going on all year round. Here’s how to choose the best month to visit Japan for you:
Spring (March–May) is the most popular season thanks to the famous cherry blossoms, cooler temps, and all the pastel-pink seasonal treats. It’s dreamy, but it also gets crowded, so book early if this is your vibe.
June kicks off the rainy season. It’s humid and a bit grey, which puts some travellers off, but the upside? Cheaper flights and hotels. Summer (July–September) is hot, sticky, and full of energy, with matsuri (festivals), fireworks, and beach escapes. Just keep an eye on the forecast as typhoon season usually hits around late September to early October.
Autumn (October–November) is a fave for many with fewer crowds than spring, mild weather, and stunning red-and-gold leaves everywhere. Great for hikes, fruit-picking, and foodies. And if you’re a snow-lover, winter (December–March) is your season: think world-class ski resorts, winter illuminations, hot springs, and super cosy vibes.
To be honest, there’s no “wrong” time to go…just different kinds of magic to experience with each season.
Step 2: Figure Out How Long to Stay

Next up: how much time should you spend in Japan? This really depends on where you’re flying from, how much time off you’ve got, and what kind of trip you’re after.
Most travellers stay around 2–3 weeks, which gives you a solid mix of big cities, nature, food, and cultural experiences. Some people even stretch it out to 3 months to take things slow and explore off the beaten path. On the flip side, if Japan’s just one stop on a bigger trip, you might only have time for the highlights.
You can definitely get a good feel for Tokyo in just a few days, especially if you stay central and plan ahead. But if you want to add places like Kyoto, Osaka, or a few lesser-known gems, aim for at least a week or more.
Step 3: Choose an Itinerary to Match Your Style

Planning the perfect Japan trip doesn’t mean following a cookie-cutter itinerary or trying to tick off every single “must-see” you found on social media. Everyone travels differently. And, in our opinion, the best trips are the ones that actually match your pace, interests, and style.
Before you even dive into which destinations to visit, it’s worth thinking about how you want your days to feel. Do you love full, action-packed days? Or do you prefer to explore slowly, get lost on purpose, and discover Japan’s hidden gems? Japan works for both…but your itinerary should reflect you.
Also, be realistic about transport time. Trains are efficient, but it still takes time to get between places, and even just crossing a city like Tokyo can eat up 60–90 minutes. Don’t plan back-to-back activities on opposite ends of town. Build in breathing room, expect lines at popular spots, and give yourself flexibility. You can also consider going on a road trip for more of an outdoor adventure in Japan.
Next, let’s talk type of vacation. For special occasions like a honeymoon in Japan, an anniversary trip, or even a bachelor/bachelorette getaway, you’ll need a totally different itinerary. With Birthdays, it gets to be all about you!
You’ll also need to consider whether you want a group adventure or solo trip to Japan? If travelling alone, make sure to look into Japan safety tips and solo travel advice to stay safe on the road! Equally, if travelling to Japan with kids, you’ll need to look into specifically child-friendly activities, food, and destinations, vs a young adult-approved itinerary for Japan graduation trips.
Step 3.5: Consider a Tour
If you’re really not sure where to start, it could be worth thinking about joining a tour or group trip in Japan. This is a great way to cover all the must-see things in Japan without having to plan everything yourself.
You can find all types of Japan tours at different price ranges, varying from a few hours to a few weeks in length. As a Japanese travel agency, we even offer specialised tours built for anime-lovers, vegans and vegetarians, and first-timers in Japan.
Step 4: Set a Realistic Budget
Let’s talk money…because setting the right budget can make or break your trip.
Japan has a bit of a rep for being expensive. And sure, it can be if you’re staying in luxury ryokans, riding the bullet train everywhere, and eating omakase every night. But with the right planning, it’s totally possible to travel Japan on a budget, and even have an affordable stay in Tokyo. You can eat incredibly well for under ¥1,000 (shoutout to konbini food and fast food chains like Sukiya or Matsuya), stay in capsule hotels or clean, comfy hostels, and take advantage of discount passes for transport and sightseeing.
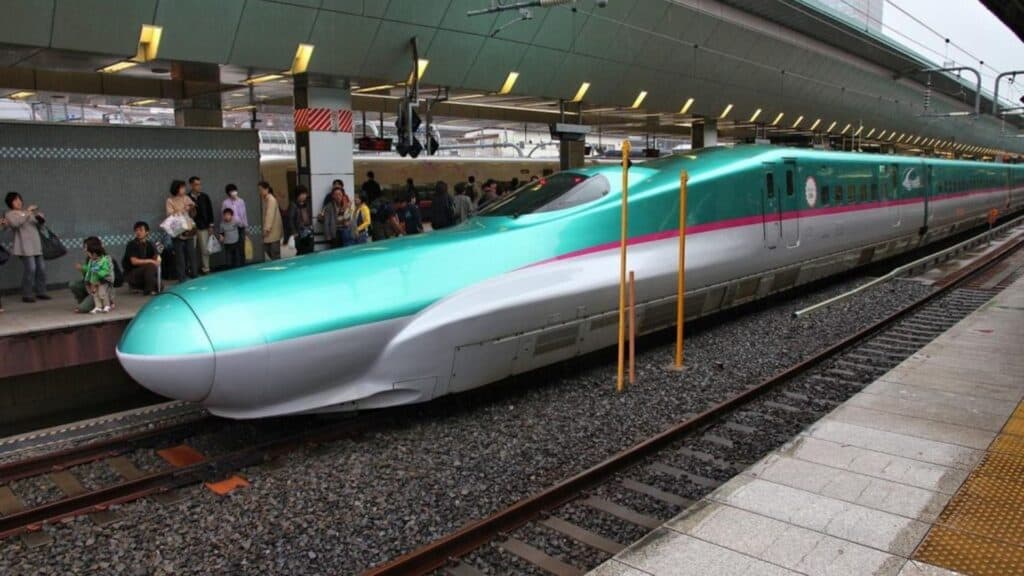
That said, it’s the “in-between” costs that can sneak up on you, like transport. If you’re covering a lot of ground, be prepared to pay for it as bullet train (shinkansen) tickets aren’t cheap. A one-way ticket from Tokyo to Kyoto alone can cost around ¥14,000. Don’t forget to also budget for souvenirs to bring home from Japan.
Another thing people forget to budget for? Entrance fees. A lot of the big temples, gardens, museums, and viewpoints charge some kind of entry cost. It’s usually not a lot (we’re talking ¥300–¥2,500), but it adds up fast if you’re hitting multiple sites per day.
Accommodation costs range massively depending on your needs. Capsule hotels and business hotels are great for budget travellers, while places like Itoen Hotels offer affordable hot spring packages with extras like all-you-can-eat meals. Want something more unique or indulgent? You’ve got stunning luxury stays like the ANA InterContinental Beppu Resort & Spa, all-inclusive escapes like ClubMed, or traditional inns like Hoshino Resorts.
Basically, Japan is what you make it. You can go budget, luxe, or somewhere in between.
Still feeling unsure or just want someone to talk it out with? You can always book a consultation call with us. We’ll help you break it down based on your vibe, timeline, and priorities so you can set a budget that actually works.
Step 5: Book Flights & Accommodation the Smart Way

Now the fun really starts. It’s time to lock in your flights and where you’ll be staying!
If your dates are flexible, you might be able to score cheaper flights by flying midweek, using budget carriers, or being open to layovers. Use comparison tools and price alerts, and always double-check what’s included, e.g., luggage, since budget airlines in Japan often charge extra.
Once you’ve got your flights sorted, it’s time to book your accommodation. Japan has so many options, and this is where your trip can start to feel really exciting.
There are the classics: clean and efficient business hotels, quirky capsule pods, social hostels, and even love hotels (yes, really, they’re private, affordable, and often pretty stylish). Booking.com and Agoda are great for deals, reviews, and finding places with flexible cancellation.
If you’re travelling on a budget, hostels are a solid choice. They’re safe, spotless, and usually come with extras like free breakfast, lounges, or even rooftop views. We’ve got a full breakdown of hostels in Japan, plus a Tokyo accommodation guide if you’re planning to stay central without overspending.

But if you want your accommodation to feel like part of the trip (not just a bed for the night), then here are some of the more unique and experiential options Japan is known for:
- Ryokan: Traditional Japanese inns where you’ll sleep on tatami mats, wear a yukata robe, soak in a hot spring bath, and eat a multi-course seasonal dinner. A must-try at least once!
- Temple stay (shukubo): Spend the night at an active temple, join morning meditations, and try Buddhist vegetarian cuisine (shojin ryori). Great for a peaceful reset.
- Machiya: Old-school wooden townhouses perfect for experiencing local life and stepping back in time for a few days.
- Farmstay or Homestay: Stay with a local family in the countryside, help with daily life, and experience rural Japan firsthand. Think slow mornings and hearty home-cooked meals.
- Design-focused stays: Boutique hotels or artist-run guesthouses that showcase local crafts, architecture, and interiors you’ll want to photograph non-stop.
- Onsen resorts or private villa-style stays: Ideal if you’re after something scenic and indulgent, from quiet mountain retreats to beachfront properties with private hot springs.
As always, book early if you’re coming during busy seasons, particularly for places with limited rooms like ryokan and temple stays. And don’t forget to check the distance to the nearest train station. Being close to transit makes a huge difference, especially if you’re travelling in Japan with luggage or plan on doing day trips.
Step 6: Pick Your Base Cities
Japan has 46 prefectures, and each one brings its own vibe, culture, food scene, and hidden gems. While it’s pretty much impossible to cover them all in one go, choosing a solid base (or two) can make your whole itinerary smoother and way more enjoyable.
No matter where you land, the key is to choose a base that’s:
- Well connected by public transport
- Close to spots you’re excited to explore, and
- Aligned with how you actually like to travel.
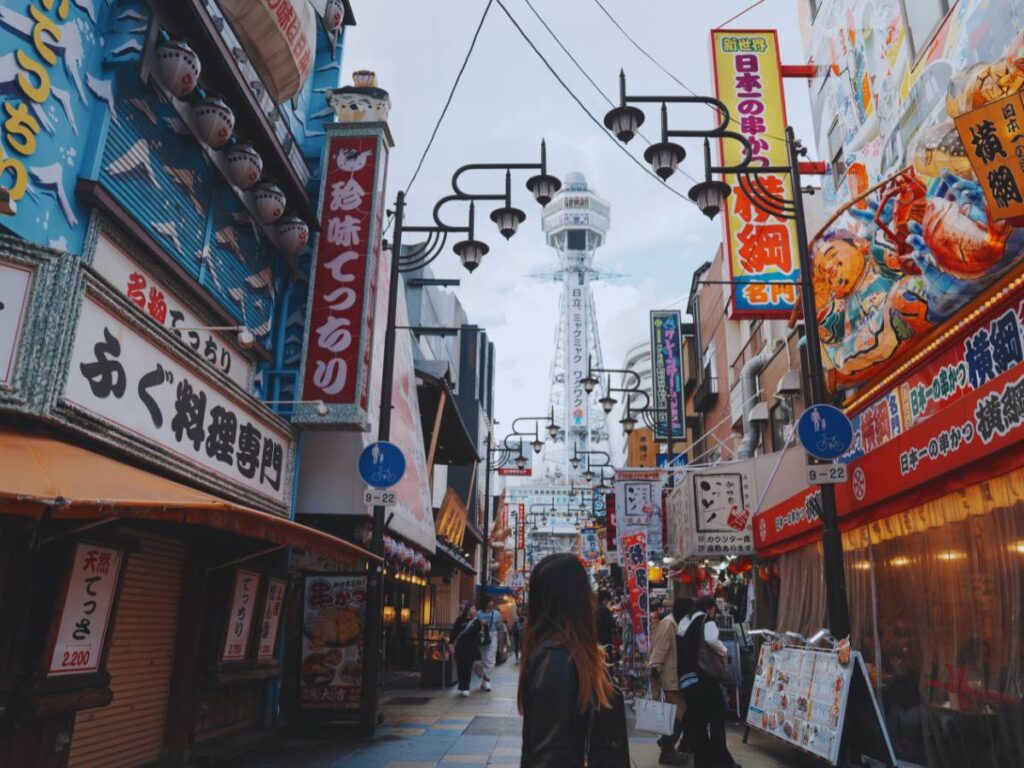
For most first-timers, the big question is Tokyo, Kyoto, or Osaka. These cities are considered to be the biggest cultural, food, and travel hubs in Japan, with each offering a totally unique experience.
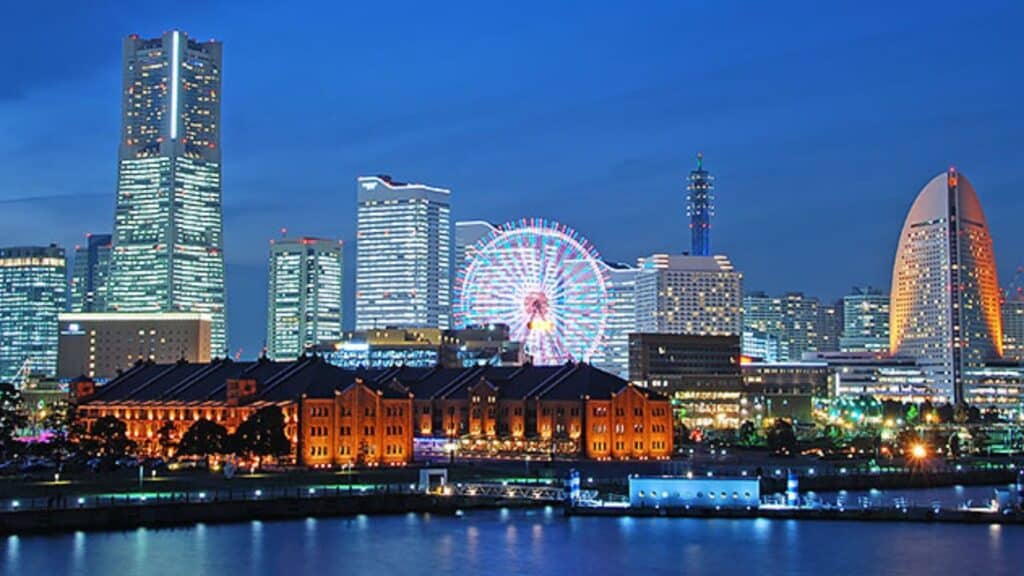
Tokyo is your best bet if you want a bit of everything: fashion, food, anime, tech, history, and nightlife all in one place. It’s big, fast, and always buzzing. And when you need a break from the city pace, Tokyo’s also surrounded by easy day trip options. You’ve got Nikko for shrines and waterfalls, Kamakura for seaside temples, Yokohama for city views and ramen museums, and Kawaguchiko for up-close views of Mt. Fuji.
Kyoto is ideal if you’re into temples, gardens, traditional tea houses, geisha culture, and a slower, more peaceful pace. It’s basically Japan’s cultural heart, and as a bonus, it’s super close to Nara (hello, bowing deer), Uji (matcha heaven), and even Osaka, which is just 15–30 minutes away by train. You could actually base in one and hop back and forth, depending on what suits your style best.
Osaka is your spot if you’re here for food, fun, and late-night energy. It’s got a more local, down-to-earth feel, and is a dream base for exploring the Kansai region. Day trips to Kyoto, Kobe, Himeji, and Nara are all super doable from here, and the city itself is packed with amazing eats and neon-drenched streets.
Now, if you’ve already ticked off the big three or just want to avoid the worst of Japan’s overtourism, then we have more options for you.
For mountain views and outdoor vibes, try Nagano (hello, snow monkeys and hot springs). Want volcanoes and warm weather? Kagoshima is great for island hopping and sand baths. Matsue in Shimane is peaceful, full of history, and totally underrated. And if you’re into cycling or onsen culture, don’t sleep on Ehime! The Shimanami Kaido bike route and Dogo Onsen are both iconic.
Step 7: Decide if You Really Need a Transportation Pass
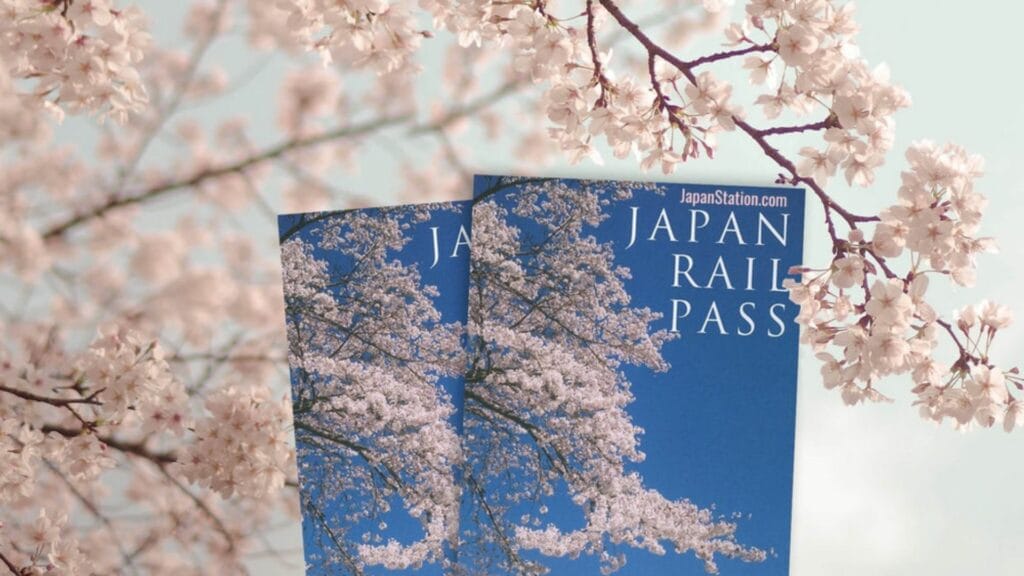
The Japan Rail Pass used to be an easy yes for most travellers, but with recent price hikes, it’s no longer a one-size-fits-all deal. These days, whether a pass is worth it really depends on your route, travel speed, and how far you’re planning to go.
If you’re only exploring one region then a regional rail pass might make way more sense than the full JR Pass. There are plenty of area-specific passes that offer unlimited train travel within a set zone for a few days, and they’re often much more affordable. Some even cover extras like airport transfers or private rail lines.
For example, if you’re planning to base yourself around Osaka, Kyoto, or Nara, check out our guide comparing the Kansai Area Pass vs. Kansai Railway Pass to see which one gives you better value.
Before you commit to anything, take a moment to map out your route and check which (if any) passes fit your travel style. A little research now could save you a lot later.
Step 8: Make Advance Reservations

In Japan, some attractions are so popular they book out weeks (even months) in advance. We’re not just talking about obvious ones like Tokyo Disneyland or the Ghibli Museum. Think Pokemon cafe, Kirby cafe, and the Toyosu Tuna Auction. Even observation decks like Shibuya Sky at sunset can sell out fast.
Booking early isn’t just about ticking off bucket-list spots, it also saves you stress and FOMO when you’re on the ground. Many places open reservations on specific dates and fill up within minutes, so it’s worth knowing what needs booking ahead of time and when.
We’ve made it easy for you with our full Japan travel reservations guide for a breakdown of what to book, how far in advance, and where to do it. The bottom line is that if there’s something you know you want to do, lock it in early. You’ll be glad you did.
Step 9: Pack Like a Pro

Packing for Japan can be deceptively tricky. The country has everything you could need, but not always in the way you expect. Firstly, don’t overpack. Japan is super convenient, and you’ll find most basics easily in convenience stores, pharmacies, and ¥100 shops. Still, there are a few key things you’ll definitely want to bring with you from home.
First off, comfy walking shoes are a must. You’ll be on your feet a lot: walking through train stations, up temple steps, around giant parks…even a single day can rack up 15,000+ steps. What to wear in Japan changes drastically by season, so make sure you check the weather forecast in advance.
Don’t forget a universal power adapter (Japan uses Type A/B plugs, same as the US, but check voltage compatibility). A portable charger is also a game-changer, especially if you’re using your phone for navigation and train apps all day. A lightweight day bag or backpack is also essential to carry snacks, water, a small umbrella, and any goodies you pick up along the way.
Other handy extras: a foldable reusable shopping bag (plastic bags aren’t always free), prescription meds (bring them in original packaging with a copy of your prescription), and tissues or wet wipes (some public toilets don’t have paper or soap).
What to skip? Big bottles of toiletries (you can buy them easily there), loads of cash (bring enough for the first few days, then withdraw at 7-Eleven ATMs), and bulky clothes unless it’s winter.
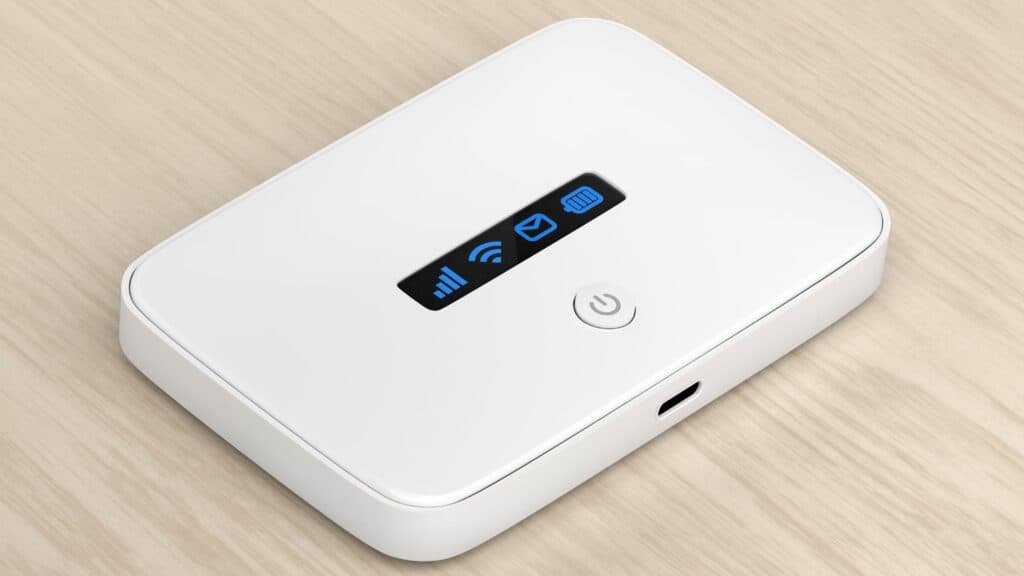
Step 10: SIM, Pocket Wi-Fi, or eSIM?
Trust us, having reliable internet in Japan is non-negotiable. You’ll be using it constantly for maps, train schedules, translations, reservations, and even just looking up what the heck that mystery snack is. Public Wi-Fi does exist, but it’s patchy, often requires sign-ups, and usually comes with annoying time limits. So don’t count on it too much.
When it comes to staying connected, you’ve got three solid options: SIM cards, pocket Wi-Fi, or eSIMs. What’s best for you depends on your device, how techy you are, how many people you’re travelling with, and how much data you need day-to-day. Here’s a quick comparison:
- A SIM card is a physical card you pop into your phone, replacing your regular one. You get a Japanese number (if it includes calls) and mobile data just like a local.
- A pocket Wi-Fi is a small, portable hotspot that you carry with you. You connect your phone, tablet, or laptop to it via Wi-Fi.
- eSIMs are the newer, digital version of SIM cards with no physical card needed. If your phone supports eSIMs, you can install a data plan directly from an app before you even land in Japan.
Your current mobile provider at home might also already offer international roaming in Japan. Depending on your plan and where you’re from, you could be able to use your existing number and data allowance just by enabling roaming. It’s definitely worth checking before your trip, though, as it could save you the hassle of buying a local SIM or renting gear.
Step 11: Avoid First-Time Japan Mistakes
Don’t get us wrong, Japan is super travel-friendly, but there are plenty of travel mistakes that first-timers can easily trip up on. We’re talking everything from getting lost in massive train stations, to not having enough cash, to not knowing the Japanese cultural dos and don’ts, e.g., chatting on your phone while on the train is a major Japan no-no.
There are a lot of these surprising things about Japan, but don’t worry, they’re easy to avoid with a little research.
Step 12: Know How to Get from the Airport to Your Hotel

Landing in Japan is exciting, but figuring out how to get to your hotel can be a bit much after a long flight.
If you’re flying into Tokyo, Haneda is closest. Hop on the Tokyo Monorail or Keikyu Line for quick, cheap access to central areas. Narita is farther out, but the Narita Express or Keisei Skyliner will get you into the city fast. Budget option? The Access Express. Limousine buses are comfy if you’ve got luggage. Taxis are easiest, but expensive.
Flying into Osaka? From Kansai Airport (KIX), take the JR Haruka Express or Nankai Rapid into the city. Coming from Itami, just grab an airport bus; it’s cheap and direct. Again, taxis are available but come at a cost.
Step 13: Run Through Your Final Checklist Before You Fly

You’ve done the Japan trip planning, booked the essentials, and (hopefully) avoided the rookie mistakes. Now it’s time to tie it all together with a final pre-flight check. Think of this as your last-minute safety net before boarding that plane to Japan. Deep breath… you’re almost there.
Here’s a handy Japan trip planning checklist to make sure you’re 100% ready:
✈️ Travel Docs & Essentials
- Passport is valid (with at least 6 months left)
- Visa (if required for your nationality)
- Printed/digital copies of flight confirmations
- Accommodation bookings saved or printed
- Travel insurance with coverage for health, cancellations, etc.
- Emergency contacts saved in your phone + written down
💸 Money & Budget
- Enough yen for the first few days (cash is still king in Japan)
- International credit/debit cards that work in Japan
- Budget tracked or prepped using an app like TravelSpend
📱 Connectivity & Japan Travel Apps
- Pocket Wi-Fi, SIM or eSIM arranged in advance (guide here)
- Essential apps downloaded (Google Maps, Japan Travel by Navitime, Google Translate, PayPay, etc.)
- Hotel address saved in Japanese (screenshot or note)
- Bookmark useful Japan websites to access on the go
🎟️ Tickets & Reservations
- Must-book activities/tours reserved
- Japan Rail Pass or regional passes sorted if needed
🎒 Packing Essentials
- Comfy walking shoes (trust us, you’ll need them)
- Coin purse, day bag, power adapter, portable charger
- Lightweight layers for the season
- Prescription meds (with script) + toiletries if you have preferences
- Reusable bag for shopping
- Tissues/wet wipes for public toilet moments
🚆 Arrival Plan
- Know how to get from the airport to your hotel
- Airport transport options researched/booked if needed
- Hotel check-in details and contact info saved
💡 Final Touches
- Checked the weather for your arrival city
- Checked national holidays/events that might affect your plans
- Booked a quick travel consultation call if you have any last-minute questions